Skip to content
Online Courses​
no-Online Courses
Online Courses​
no-Online Courses
Nationally Accredited First Aid Courses
(08) 7120 2570
Firstaidpro Logo
  • Courses

    Face-To-Face (No Online)

    HLTAID009

    CPR Course

    HLTAID011

    First Aid Course

    HLTAID012

    Childcare First Aid Course

    Blended (Online+In Person)

    HLTAID009

    Blended CPR Course

    HLTAID011

    Blended First Aid Course

    HLTAID012

    Blended Childcare First Aid Course

    HLTAID013

    Remote First Aid Course

    HLTAID014

    Advanced First Aid Course

    HLTAID015

    Advanced Resuscitation Course

    Online (100% Virtual Via Zoom)

    Zoom CPR Course

    Online CPR Course

    Zoom First Aid Course

    Online First Aid Course

    Zoom Childcare

    Online Childcare First Aid Course

    Zoom NDIS Complex Bowel Care

    Online Complex Bowel Care

    Zoom NDIS Complex Wound Care

    Online Complex Wound Care

    Zoom NDIS Dysphagia Support

    Online Dysphagia Support

    Zoom NDIS Enteral Feeding Support

    Online Enteral Feeding Support

    Zoom NDIS Epilepsy & Seizure Support

    Online Epilepsy & Seizure Support

    Zoom NDIS Subcutaneous Injection Support

    Online Subcutaneous Injection Support

    Zoom NDIS Tracheostomy Support

    Online Tracheostomy Support

    Zoom NDIS Tracheostomy & Ventilator

    Online Tracheostomy & Ventilator Support

    Zoom NDIS Urinary Catheter Support

    Online Urinary Catheter Support

    Zoom NDIS Ventilator Support

    Online Ventilator Support

    Mental Health Courses

    MHFA

    Mental Health First Aid Course

    MHFAR

    Mental Health First Aid Refresher

    Specialised Industry Courses

    Asthma & Anaphylaxis

    22556VIC & 22578VIC

    CPR, Asthma & Anaphylaxis

    HLTAID009, 22556VIC & 22578VIC

    Medication Administration

    HLTHPS006 Assist clients with medication

    Manual Handling

    HLTWHS005 Conduct Manual Tasks Safely​​

    Manual Handling Refresher

    Manual Handling Update

    Specialised Choking Support

    Choking Support

    White Card

    CPCWHS1001 Prepare to Work Safely in the Construction Industry

    CPR LVR

    UETDRMP018 Perform Rescue From A Live Low Voltage Panel

    Emergency Warden

    PUAFER005 Operate as part of an emergency control organisation

    Chief Warden

    PUAFER006 Lead an emergency control organisation

    Pain Management

    PUAEME008 Provide Pain Management

    NDIS High Intensity Support Skills

    Complex Bowel Care

    NDIS Complex Bowel Care

    Complex Wound Care

    NDIS Complex Wound Care

    Dysphagia Support

    NDIS Dysphagia Support

    Enteral Feeding Support

    NDIS Enteral Feeding Support

    Epilepsy and Seizure Support

    NDIS Epilepsy & Seizure Support

    Subcutaneous Injections

    NDIS Subcutaneous Injection Support

    Urinary Catheter Support

    NDIS Urinary Catheter Support

    Tracheostomy Support

    NDIS Tracheostomy Support

    Tracheostomy & Ventilator

    NDIS Tracheostomy & Ventilator Support

    Ventilator Support

    NDIS Ventilator Support

  • Locations
    Find Locations Near Me

    Adelaide CBD

    Aldinga

    Campbelltown

    Fullarton

    Findon

    Gawler

    Glenelg

    Marion

    Mawson Lakes

    Mitcham

    Modbury

    Morphett Vale

    Mount Barker

    Mount Gambier

    Munno Para

    Murray Bridge

    North Haven

    Norwood

    Osborne

    Payneham

    Pooraka

    Port Adelaide

    Salisbury

    South Plympton

    Tonsley

    Victor Harbor

    West Lakes

    Willunga

    Woodville

    Brisbane CBD

    Browns Plains

    Caboolture

    Cairns

    Caloundra

    Cannon Hill

    Capalaba

    Chermside

    Darra

    Eudlo

    Gold Coast

    Gympie

    Ipswich

    Logan

    Mackay

    Maroochydoore

    Mooloolaba

    Mount Gravatt

    Nambour

    Noosaville

    Redcliffe

    Salisbury

    Sippy Downs

    South Brisbane

    Southport

    Springfield

    Sunshine Coast

    Upper Coomera

    Varsity Lakes

    Wurtulla

    Albury

    Bankstown

    Blacktown

    Campbelltown

    Castle Hill

    Cessnock

    Dapto

    Dee Why

    Eastwood

    Gosford

    Greenwich

    Hurstville

    Hornsby

    Kogarah

    Liverpool

    Miranda

    Narellan

    Newcastle

    North Ryde

    Parramatta

    Penrith

    Port Macquarie

    Richmond

    Shellharbour

    Smithfield

    Sydney CBD

    Sydney Olympic Park

    Tweed Heads

    Wagga Wagga

    Wollongong

    Altona

    Ballarat

    Box Hill

    Bundoora

    Caroline Springs

    Carrum Downs

    Collingwood

    Dandenong

    Epping

    Frankston

    Fitzroy

    Geelong

    Laverton

    Melbourne CBD

    Moonee Ponds

    Narre Warren

    Ringwood

    Sunbury

    Sunshine

    Tullamarine

    Werribee

    Burnie

    Derwent Park

    Devonport

    Glenorchy

    Hobart

    Kingston

    Launceston

    Lindisfarne

    Mornington

    Rosny Park

    Sandy Bay

    Sorell

    Canning Vale

    Fremantle

    Gosnells

    Innaloo

    Joondalup

    Mandurah

    Midland

    Osborne Park

    Perth CBD

    Subiaco

    Rockingham

    Wanneroo

    Welshpool

    Alice Springs

    Darwin

    Katherine

    Palmerston City

    Tiwi

    Canberra

    Curtin

    Narrabundah

    Woden

    Find Locations Near Me

  • Information
    About UsOnsite Workplace TrainingCareersCorporate Group TrainingInstant Price BeatPolicies & ProceduresPartnersSame Day CertificatesAll CoursesCourse Calendar
  • Resources
    BlogFirst Aid ChartsFAQsStudent Login
  • Contact Us
FirstAidPro
  • Courses

    Face-To-Face (No Online)

    HLTAID009

    CPR Course

    HLTAID011

    First Aid Course

    HLTAID012

    Childcare First Aid Course

    Blended (Online+In Person)

    HLTAID009

    Blended CPR Course

    HLTAID011

    Blended First Aid Course

    HLTAID012

    Blended Childcare First Aid Course

    HLTAID013

    Remote First Aid Course

    HLTAID014

    Advanced First Aid Course

    HLTAID015

    Advanced Resuscitation Course

    Online (100% Virtual Via Zoom)

    Zoom CPR Course

    Online CPR Course

    Zoom First Aid Course

    Online First Aid Course

    Zoom Childcare

    Online Childcare First Aid Course

    Zoom NDIS Complex Bowel Care

    Online Complex Bowel Care

    Zoom NDIS Complex Wound Care

    Online Complex Wound Care

    Zoom NDIS Dysphagia Support

    Online Dysphagia Support

    Zoom NDIS Enteral Feeding Support

    Online Enteral Feeding Support

    Zoom NDIS Epilepsy & Seizure Support

    Online Epilepsy & Seizure Support

    Zoom NDIS Subcutaneous Injection Support

    Online Subcutaneous Injection Support

    Zoom NDIS Tracheostomy Support

    Online Tracheostomy Support

    Zoom NDIS Tracheostomy & Ventilator

    Online Tracheostomy & Ventilator Support

    Zoom NDIS Urinary Catheter Support

    Online Urinary Catheter Support

    Zoom NDIS Ventilator Support

    Online Ventilator Support

    Mental Health Courses

    MHFA

    Mental Health First Aid Course

    MHFAR

    Mental Health First Aid Refresher

    Specialised Industry Courses

    Asthma & Anaphylaxis

    22556VIC & 22578VIC

    CPR, Asthma & Anaphylaxis

    HLTAID009, 22556VIC & 22578VIC

    Medication Administration

    HLTHPS006 Assist clients with medication

    Manual Handling

    HLTWHS005 Conduct Manual Tasks Safely​​

    Manual Handling Refresher

    Manual Handling Update

    Specialised Choking Support

    Choking Support

    White Card

    CPCWHS1001 Prepare to Work Safely in the Construction Industry

    CPR LVR

    UETDRMP018 Perform Rescue From A Live Low Voltage Panel

    Emergency Warden

    PUAFER005 Operate as part of an emergency control organisation

    Chief Warden

    PUAFER006 Lead an emergency control organisation

    Pain Management

    PUAEME008 Provide Pain Management

    NDIS High Intensity Support Skills

    Complex Bowel Care

    NDIS Complex Bowel Care

    Complex Wound Care

    NDIS Complex Wound Care

    Dysphagia Support

    NDIS Dysphagia Support

    Enteral Feeding Support

    NDIS Enteral Feeding Support

    Epilepsy and Seizure Support

    NDIS Epilepsy & Seizure Support

    Subcutaneous Injections

    NDIS Subcutaneous Injection Support

    Urinary Catheter Support

    NDIS Urinary Catheter Support

    Tracheostomy Support

    NDIS Tracheostomy Support

    Tracheostomy & Ventilator

    NDIS Tracheostomy & Ventilator Support

    Ventilator Support

    NDIS Ventilator Support

  • Locations

    Adelaide CBD

    Aldinga

    Campbelltown

    Fullarton

    Findon

    Gawler

    Glenelg

    Marion

    Mawson Lakes

    Mitcham

    Modbury

    Morphett Vale

    Mount Barker

    Mount Gambier

    Munno Para

    Murray Bridge

    North Haven

    Norwood

    Osborne

    Payneham

    Pooraka

    Port Adelaide

    Salisbury

    South Plympton

    Tonsley

    Victor Harbor

    West Lakes

    Willunga

    Woodville

    Brisbane CBD

    Browns Plains

    Caboolture

    Cairns

    Caloundra

    Cannon Hill

    Capalaba

    Chermside

    Darra

    Eudlo

    Gold Coast

    Gympie

    Ipswich

    Logan

    Mackay

    Maroochydoore

    Mooloolaba

    Mount Gravatt

    Nambour

    Noosaville

    Redcliffe

    Salisbury

    Sippy Downs

    South Brisbane

    Southport

    Springfield

    Sunshine Coast

    Upper Coomera

    Varsity Lakes

    Wurtulla

    Albury

    Bankstown

    Blacktown

    Campbelltown

    Castle Hill

    Cessnock

    Dapto

    Dee Why

    Eastwood

    Gosford

    Greenwich

    Hurstville

    Hornsby

    Kogarah

    Liverpool

    Miranda

    Narellan

    Newcastle

    North Ryde

    Parramatta

    Penrith

    Port Macquarie

    Richmond

    Shellharbour

    Smithfield

    Sydney CBD

    Sydney Olympic Park

    Tweed Heads

    Wagga Wagga

    Wollongong

    Altona

    Ballarat

    Box Hill

    Bundoora

    Caroline Springs

    Carrum Downs

    Collingwood

    Dandenong

    Epping

    Frankston

    Fitzroy

    Geelong

    Laverton

    Melbourne CBD

    Moonee Ponds

    Narre Warren

    Ringwood

    Sunbury

    Sunshine

    Tullamarine

    Werribee

    Burnie

    Derwent Park

    Devonport

    Glenorchy

    Hobart

    Kingston

    Launceston

    Lindisfarne

    Mornington

    Rosny Park

    Sandy Bay

    Sorell

    Canning Vale

    Fremantle

    Gosnells

    Innaloo

    Joondalup

    Mandurah

    Midland

    Osborne Park

    Perth CBD

    Subiaco

    Rockingham

    Wanneroo

    Welshpool

    Alice Springs

    Darwin

    Katherine

    Palmerston City

    Tiwi

    Canberra

    Curtin

    Narrabundah

    Woden

    Find Locations Near Me
  • Information
    About Us
    Onsite Workplace Training
    Careers
    Corporate Group Training
    Instant Price Beat
    Policies & Procedures
    Partners
    Same Day Certificates
    All Courses
    Course Calendar
  • Resources
    Blog
    First Aid Charts
    FAQs
    Student Login
  • Contact Us
  • Student Login
    Daily Deals
Student login
daily deals
Online

OR

No-Online

10 Best Techniques for Severe Bleeding Control

techniques to control severe bleeding

Table of Contents

  • About
  • Latest Posts
Sharon McCulloch
Sharon McCulloch
CEO, Founder and First Aid Trainer at FirstAidPro
Sharon McCulloch is the CEO and Founder of FirstAidPro, Australia's leading Registered Training Organisation (31124), delivering First Aid Courses nationwide.

Sharon has 21+ years of experience as a qualified Emergency Care Nurse registered with the Australian Health Practitioner Regulation Agency (APHRA) and 12+ years as a First Aid Trainer.

She takes pride in FirstAidPro making first aid training available, comprehensive and affordable to everybody.
Sharon McCulloch
Latest posts by Sharon McCulloch (see all)
  • Dehydration Symptoms – 10 Critical Things You Need to Know - 30/10/2025
  • Fire Warden Duties: What You’ll Learn in PUAFER005 Fire Warden Training - 29/10/2025
  • European Wasp in Australia: Sting Symptoms, Risks & First Aid Guide - 28/10/2025

When faced with severe bleeding, you’ll need to act quickly and decisively. Understanding the best techniques for controlling blood loss can mean the difference between life and death.

From applying direct pressure to using tourniquets correctly, there’s a range of methods you should be familiar with. But it’s not just about stopping the bleeding; you’ll also need to know how to prevent shock and monitor essential signs.

While these techniques may seem straightforward, there’s more to them than meets the eye. Let’s explore why each method is important and how you can effectively apply them in emergency situations.

control severe bleeding

Key Takeaways

• Apply firm, direct pressure to the wound using a clean cloth or sterile dressing for at least 15 minutes without checking.

• Elevate the injured area above heart level to reduce blood pressure and control bleeding.

• Use tourniquets correctly, placing them 5-8 cm above the wound on bare skin as a last resort.

• Pack wounds effectively with sterile gauze or haemo-static dressings, starting from the deepest point.

• Employ compression bandages and haemo-static agents for severe bleeding that doesn’t respond to direct pressure.

Apply Direct Pressure

When confronted with severe bleeding, immediately apply firm, direct pressure to the wound using a clean cloth or sterile dressing. This first aid technique is essential for controlling blood loss and initiating the clotting process. Maintain constant pressure on the wound, using both hands if necessary. Don’t remove the dressing if it becomes soaked; instead, add more layers on top to continue absorbing blood.

If possible, elevate the injured area above the heart to reduce blood flow to the wound. This, combined with direct pressure, can greatly slow bleeding. Continue applying pressure for at least 15 minutes without checking the wound, as this may disrupt clot formation. In severe cases, you may need to maintain pressure for longer periods.

For wound care, use sterile gauze or the cleanest material available. If you’re assisting someone else, wear protective gloves to prevent potential infection transmission.

Elevate the Injured Area

elevated leg bandage

Elevation of the injured area above the heart level serves as an important complementary technique to direct pressure for controlling severe bleeding. When you raise the injured limb or body part, you’re utilising gravity to your advantage. This action reduces blood pressure in the affected area, slowing the rate of blood loss and aiding clot formation.

To properly elevate the injury, verify the wounded area is positioned higher than the patient’s heart. For limb injuries, you can use pillows, folded blankets, or any available sturdy object to support the elevated position. If it’s a leg injury, you might prop it up on a chair or table. For arm injuries, you can use a sling or have the patient hold their arm up.

Maintain injury elevation throughout the treatment process, even as you apply direct pressure or other bleeding control methods. It’s vital to keep the wound elevated until professional medical help arrives.

Use Pressure Points

To control severe bleeding using pressure points, you’ll need to locate key areas where large arteries are close to the skin’s surface.

Apply firm, sustained pressure to these points using your fingers or the heel of your hand to reduce blood flow to the injured area.

Monitor the effectiveness of this technique and be prepared to adjust your approach or combine it with other methods if bleeding persists.

Locate Key Pressure Points

If direct pressure isn’t enough, you’ll need to locate key pressure points to stem severe bleeding. These pressure points, also known as pulse points or arterial landmarks, are areas where major arteries run close to the skin’s surface. By applying firm pressure to these points, you can reduce blood flow to the injured area.

For upper body injuries, focus on the brachial artery in the inner arm or the subclavian artery above the collarbone. For lower body injuries, target the femoral artery in the groin area. The carotid artery in the neck can be used for head injuries, but exercise extreme caution.

To effectively use pressure points:

• Quickly identify the nearest pressure point to the wound

• Apply firm, steady pressure using your fingers or palm

• Maintain pressure until professional help arrives

• Be prepared to switch hands if fatigue sets in

• Monitor the victim’s essential signs continuously

Apply Firm, Sustained Pressure

Once you’ve identified the appropriate pressure point, apply firm, sustained pressure using your fingers or the palm of your hand. The goal is to compress the artery against the underlying bone, effectively reducing blood flow to the injury site. Maintain constant pressure for at least 10 to 15 minutes without lifting your hand or checking the wound.

Proper pressure techniques are essential for effective bleeding control. Use your body weight to apply steady force, leaning into the pressure point if necessary. For smaller arteries, use your fingertips; for larger ones, utilise the heel of your hand. The pressure should be firm enough to stop or considerably slow the bleeding, but not so forceful as to cause additional injury.

The pressure duration is critical. Resist the urge to frequently check the wound, as this can disrupt clot formation. If blood soaks through the initial dressing, add more layers without removing the original. Remember, consistent pressure is key.

If you’re unable to maintain pressure due to fatigue or the need to perform other life-saving tasks, use a pressure bandage or improvised tourniquet to sustain compression until professional help arrives.

Monitor for Effectiveness

While maintaining pressure, you’ll need to regularly assess the effectiveness of your bleeding control efforts using specific indicators.

Monitor the patient’s response and perform ongoing bleeding assessments. Check if blood is still seeping through the dressings or if the wound area appears to be expanding. Observe the colour and temperature of the skin around the injury site.

If bleeding persists despite direct pressure, you may need to contemplate using pressure points.

Pressure points are locations where you can compress a major artery against bone to reduce blood flow to a wound. Common pressure points include the brachial artery for arm injuries and the femoral artery for leg injuries. Apply firm pressure to these points while continuing direct pressure on the wound.

• Your quick action could mean the difference between life and death

• Every second counts when controlling severe bleeding

• You’re the crucial link in the chain of survival

• Your calm and focused efforts can prevent shock and save lives

• You have the power to make a critical difference in this emergency

Apply Tourniquets Correctly

tourniquets

Proper application of a tourniquet is essential for effectively controlling severe limb haemorrhage in emergency situations.

When applying a tourniquet, place it 5-8 cm above the wound, avoiding joints. Tighten it until the bleeding stops and secure it firmly. Remember, a tourniquet should be your last resort when direct pressure fails to control bleeding.

For tourniquet placement, use a commercial device if available. If not, improvise using a wide, flat material like a belt or triangular bandage, along with a rigid object for twisting. Apply the tourniquet directly to bare skin, not over clothing. Tighten it until the distal pulse disappears and bleeding ceases.

Once applied, note the time and don’t loosen or remove the tourniquet until medical professionals take over. Premature tourniquet removal can lead to reperfusion injury and resumption of bleeding.

If evacuation time exceeds two hours, reassess the need for the tourniquet. In some cases, you may gradually loosen it while maintaining pressure on the wound. However, be prepared to retighten immediately if bleeding resumes.

Pack Wounds Effectively

When tourniquets aren’t suitable or effective, you’ll need to pack wounds to control severe bleeding. Wound packing is a critical skill in emergency situations.

Start by exposing the wound and removing any loose debris. Apply direct pressure to the source of bleeding while preparing your packing materials. Use sterile gauze or haemostatic dressings if available.

Begin packing the wound firmly, starting at the deepest point and working your way out. Maintain constant pressure as you apply layers of gauze, filling the entire wound cavity. Ensure you pack tightly enough to create pressure against the bleeding vessels.

Once the wound is fully packed, apply a pressure bandage over the top to maintain compression. Monitor the wound closely for any signs of continued bleeding.

• Your actions could mean the difference between life and death

• Every second counts when dealing with severe haemorrhage

• The pressure you apply directly impacts the victim’s survival

• Your calm, precise movements can bring order to chaos

• You’re the last line of defence against blood loss

Utilise Hemostatic Agents

Hemostatic Agents

Hemostatic agents offer advanced options for controlling severe bleeding.

You’ll encounter various types, including powders, gauzes, and granules, each designed for specific wound scenarios.

When applying hemostatic powders, ensure direct contact with the bleeding source and maintain pressure, as these agents can greatly outperform traditional methods in rapidly stopping blood loss.

Types of Hemostatic Agents

Packed with clotting agents, hemostatic dressings come in several forms designed to rapidly stop severe bleeding. The most common hemostatic agent types include zeolite-based powders, chitosan-based dressings, and kaolin-based gauzes. Each type has unique properties that influence its effectiveness in different scenarios.

Zeolite-based agents work by rapidly absorbing water from blood, concentrating clotting factors. Chitosan-based dressings use positively charged molecules to attract red blood cells and form a seal. Kaolin-based gauzes activate the body’s clotting cascade to accelerate natural haemostasis.

When comparing effectiveness, consider:

• Speed of action • Ease of application • Potential for tissue damage • Compatibility with wound location • Shelf life and storage requirements

In general, kaolin-based agents have shown high effectiveness with minimal side effects, making them a popular choice for both military and civilian use. Chitosan-based products are particularly effective for irregularly shaped wounds. Zeolite powders, while fast-acting, can generate heat and potentially cause burns.

Choose the appropriate hemostatic agent based on the specific injury, available resources, and your level of training. Always follow manufacturer instructions for best results.

Application of Hemostatic Powders

To effectively apply hemostatic powders, you’ll need to follow a precise sequence of steps that maximises their clotting potential.

First, guarantee you’re wearing proper protective equipment. Quickly assess the wound and remove any debris or excess blood. Apply direct pressure to slow the bleeding, then release pressure momentarily to expose the wound site.

Pour or spray the hemostatic powder directly onto the source of bleeding, covering it entirely. Don’t be conservative; use enough powder to fill the wound cavity. Immediately reapply firm, direct pressure for at least three to five minutes. This vital step allows the powder to interact with blood, forming a clot.

After the initial pressure application, carefully pack the wound with gauze, maintaining pressure. Wrap the injury site securely with a pressure bandage.

Monitor the wound closely for any signs of continued bleeding. If bleeding persists, remove the dressing and reapply hemostatic powder, following the same steps.

Advantages Over Traditional Methods

Superiority of modern hemostatic agents over traditional bleeding control methods is evident in their rapid action, effectiveness in difficult-to-compress areas, and reduced risk of rebleeding. These innovative techniques have revolutionised emergency care, offering significant advantages in critical situations.

Comparative effectiveness studies show that hemostatic agents outperform conventional methods in several key areas. They’re particularly useful for wounds in junctional areas, where tourniquets can’t be applied. You’ll find that these agents can form a stable clot within minutes, even in the presence of anticoagulants. Furthermore, they’re less likely to cause tissue damage compared to prolonged direct pressure or tourniquet use.

• You’re holding the power to save lives in your hands

• Imagine the relief of stopping bleeding in seconds

• Feel the confidence of using cutting-edge medical technology

• Envision yourself as a hero in emergency situations

• Experience the satisfaction of mastering advanced medical skills

In clinical settings, hemostatic agents have proven invaluable for managing severe haemorrhage. They’re particularly effective in patients with coagulation disorders or those on blood thinners. You’ll appreciate their ease of use and the reduced need for blood transfusions. These agents represent a significant leap forward in bleeding control techniques, offering you a powerful tool in your medical arsenal.

Employ Compression Bandages

Compression bandages provide effective pressure to control severe bleeding while allowing for quick application in emergency situations. When employing compression bandages, you’ll need to understand various compression techniques and bandage types to guarantee ideal results.

Start by selecting the appropriate bandage for the wound. Elastic bandages are versatile and can conform to different body parts, while cohesive bandages stick to themselves, providing secure compression.

For limb injuries, use a spiral technique, wrapping from the distal end towards the body. For joint areas, employ a figure-eight pattern for better flexibility.

Apply the bandage firmly but not so tight that it restricts circulation. You should be able to slip a finger under the wrap. Start with an anchoring turn, then overlap each subsequent layer by about 50%. For severe bleeding, consider using multiple layers or combining with absorbent dressings.

Monitor the wound site regularly for signs of continued bleeding or circulatory issues. If the bandage becomes soaked, don’t remove it; instead, add additional layers on top.

Immobilise Fractured Limbs

When dealing with severe bleeding from a fractured limb, immobilisation is essential.

You should splint the fracture to reduce blood loss and prevent further tissue damage.

Before moving the patient, ensure the injured limb is properly stabilised to minimise additional complications and pain.

Splinting Fractures Reduces Bleeding

Immobilising fractured limbs through splinting can greatly reduce blood loss associated with fractures. Proper fracture stabilization not only minimises pain but also considerably contributes to bleeding reduction.

When you encounter a suspected fracture, it’s vital to immobilise the affected area immediately. Use rigid materials like boards, rolled newspapers, or specially designed splints to secure the limb above and below the fracture site.

Splinting prevents further damage to surrounding tissues and blood vessels, which can exacerbate bleeding. It’s important to check for pulse and sensation before and after applying the splint to guarantee proper circulation. If you don’t have access to commercial splints, improvise using available materials like sticks or rolled blankets. Remember to pad bony prominences to prevent pressure sores.

You are the lifeline between the victim and professional help.

Your quick action can mean the difference between life and death.

You have the power to control bleeding and prevent shock.

Your knowledge of splinting techniques is a vital skill.

You are equipped to make a real difference in emergency situations.

Stabilise Before Moving Patient

Before attempting to move a patient with suspected fractures, you must stabilise the injured areas to prevent further damage and minimise blood loss. Proper immobilisation is essential for both patient safety and bleeding control. Start by evaluating the patient’s overall condition and identifying all fracture sites.

For limb fractures, use splints or improvised materials to immobilise the joints above and below the injury. Confirm you pad bony prominences to prevent pressure sores. In cases of pelvic fractures, apply a pelvic binder or wrap a sheet tightly around the hips to reduce internal bleeding.

Patient positioning is vital. Keep the injured limb elevated above heart level when possible to reduce blood flow to the area. For spinal injuries, maintain neutral alignment and use a backboard or other rigid surface for transport.

When it’s time to move the patient, use proper movement techniques to avoid exacerbating injuries. The log roll method is effective for transferring patients with suspected spinal injuries onto a backboard. For conscious patients with isolated limb fractures, assist them in finding the most comfortable position that maintains immobilisation.

Monitor Vital Signs

Regular monitoring of essential signs is important when managing severe bleeding to assess the patient’s condition and response to treatment.

Critical sign assessment provides vital information about the patient’s cardiovascular status and overall health. You’ll need to perform continuous monitoring techniques to track changes and adjust your interventions accordingly.

Focus on key critical signs: blood pressure, heart rate, respiratory rate, and oxygen saturation. Use appropriate monitoring equipment to obtain accurate readings. Be alert for signs of shock, such as rapid pulse, low blood pressure, and decreased consciousness. Record critical signs at regular intervals, typically every 5-15 minutes for critical patients.

• Your vigilance could mean the difference between life and death.

• Every second counts when battling severe blood loss.

• Stay calm and focused; your patient’s life is in your hands.

• Trust your training and instincts to guide your actions.

• Remember, you’re their lifeline in this critical moment.

If you notice significant changes in critical signs, act quickly to address the underlying cause.

Reassess your bleeding control measures and consider additional interventions if necessary. Communicate any concerning trends to other healthcare providers or emergency responders. Continuous monitoring allows you to anticipate and prevent further complications, improving the patient’s chances of survival.

Prevent Shock

Shock prevention is crucial when managing severe bleeding to maintain adequate blood flow to essential organs. As you control the bleeding, you must simultaneously take steps to prevent shock from setting in.

Keep the patient lying flat on their back and elevate their legs about 30 centimetres, unless this position causes pain or further injury. This helps redirect blood flow to critical organs.

Initiate fluid resuscitation if you’re trained and authorised. Administer intravenous fluids or oral rehydration solutions to replace lost blood volume. Monitor the patient’s response to fluid therapy closely.

Keep the patient warm by covering them with blankets or coats to prevent heat loss, which can exacerbate shock.

Provide psychological support to help calm the patient. Anxiety can worsen shock symptoms, so speak in a reassuring manner and explain what you’re doing. Encourage the patient to take slow, deep breaths if they’re conscious.

Don’t give them anything to eat or drink, as this could lead to complications if emergency surgery is needed. Continue to assess essential signs regularly and be prepared to start CPR if the patient loses consciousness or stops breathing.

Swift action in shock prevention can greatly improve the patient’s chances of survival.

Frequently Asked Questions

How Long Can a Tourniquet Safely Remain in Place?

You shouldn’t leave a tourniquet in place for more than 2 hours. Proper tourniquet application is essential. Different tourniquet types exist, but all should be removed by medical professionals as soon as possible to prevent tissue damage.

Can I Use Everyday Items as Improvised Wound Packing Materials?

You can use improvised dressings from household materials for wound packing. Clean cloth, towels, or t-shirts work well. Avoid loose fibres. Pack the wound firmly, applying direct pressure. Replace with sterile dressings as soon as possible.

What's the Proper Way to Remove an Embedded Object From a Wound?

Don’t remove embedded objects from wounds yourself. Seek immediate medical attention. If you must act, stabilise the object, clean around it, and control bleeding. Only trained professionals should perform embedded object removal and proper wound cleaning techniques.

How Do I Recognise and Manage Internal Bleeding?

You may recognise internal bleeding by symptoms like abdominal pain, bruising, and weakness. It’s often caused by trauma or medical conditions. Seek immediate medical attention if you suspect internal bleeding. Don’t attempt to manage it yourself.

The content on this website offers general insights regarding health conditions and potential treatments. It is not intended as, and should not be construed as, medical advice. If you are facing a medical emergency, dial 000 immediately and follow the guidance provided.

Popular Posts
  • Spider Bites – When To Worry, Symptoms & First Aid
    05/06/2023
    KEY TAKEAWAYSSpiders in Australia, including Redbacks and Funnelwebs, are venomous and can cause spider bites.Most spider bites occur when spiders...
  • What does DRSABCD stand for, and what does it mean?
    02/06/2023
    KEY TAKEAWAYS DRSABCD is an acronym used in first aid to guide providers when helping a sick or injured person....
  • First Aid For Midge Bites – And 4 Ways To Avoid Them
    13/06/2023
    KEY TAKEAWAYSMidges are small flying insects commonly found in Australia, particularly near water.Some midges, known as biting midges, can bite...
  • Ibuprofen VS Paracetamol – Know The Difference
    28/09/2022
    KEY TAKEAWAYSIbuprofen and paracetamol have different mechanisms of action.Paracetamol is a commonly used painkiller with minimal side effects.Ibuprofen is an...
  • Common Australian Spiders – How Dangerous Are They?
    15/05/2023
    Only two Australian spiders, the Redback spider and the Sydney Funnelweb, have ever killed people with a bite in the...
Recent Posts
Dehydration symptoms
Dehydration Symptoms – 10 Critical Things You Need to Know
30/10/2025

Dehydration occurs when the body loses more fluids than you take in, leading to an imbalance that affects every system in the body. Recognising the …

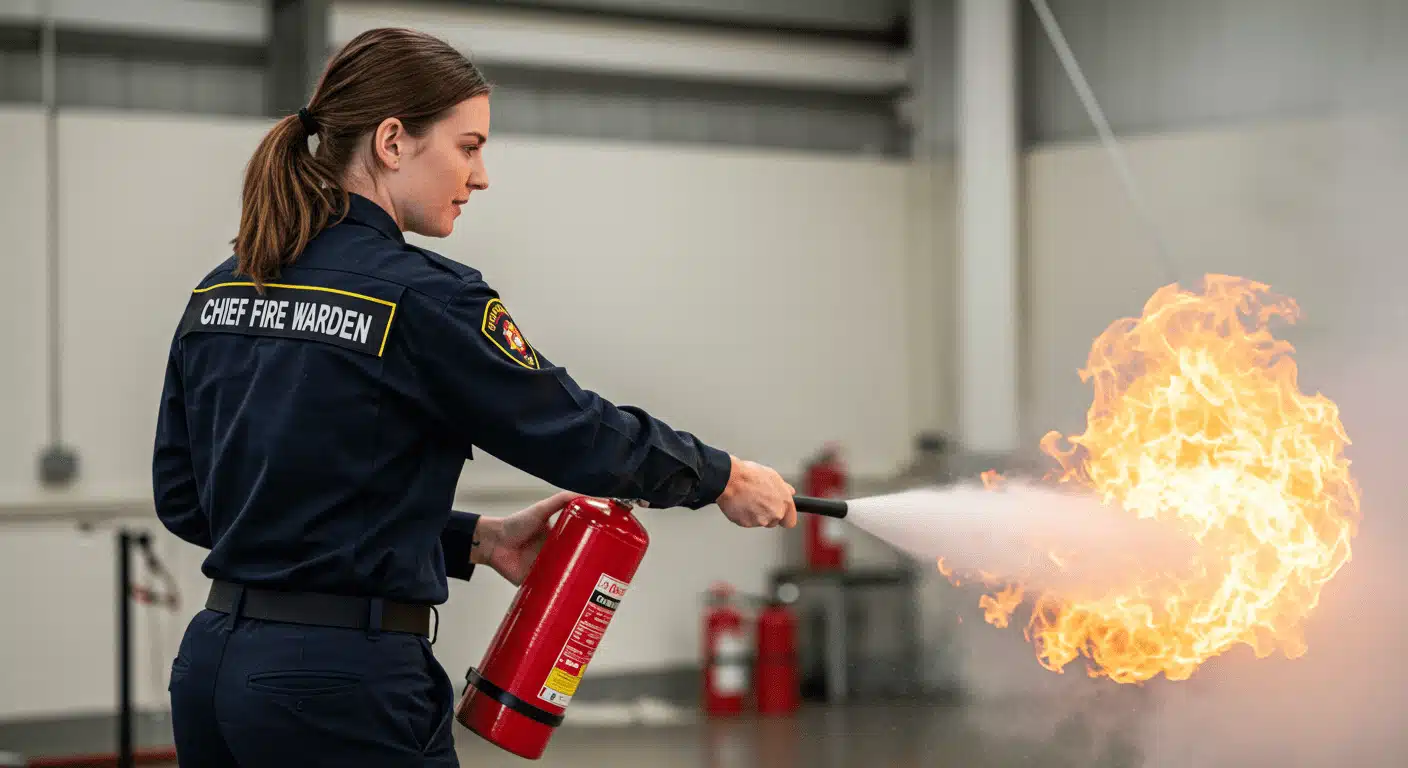
Fire Warden duties
Fire Warden Duties: What You’ll Learn in PUAFER005 Fire Warden Training
29/10/2025

Fire warden duties encompass critical safety responsibilities including emergency response coordination, workplace evacuation procedures, and maintaining compliance with Australian Standard AS 3745. Fire wardens serve …

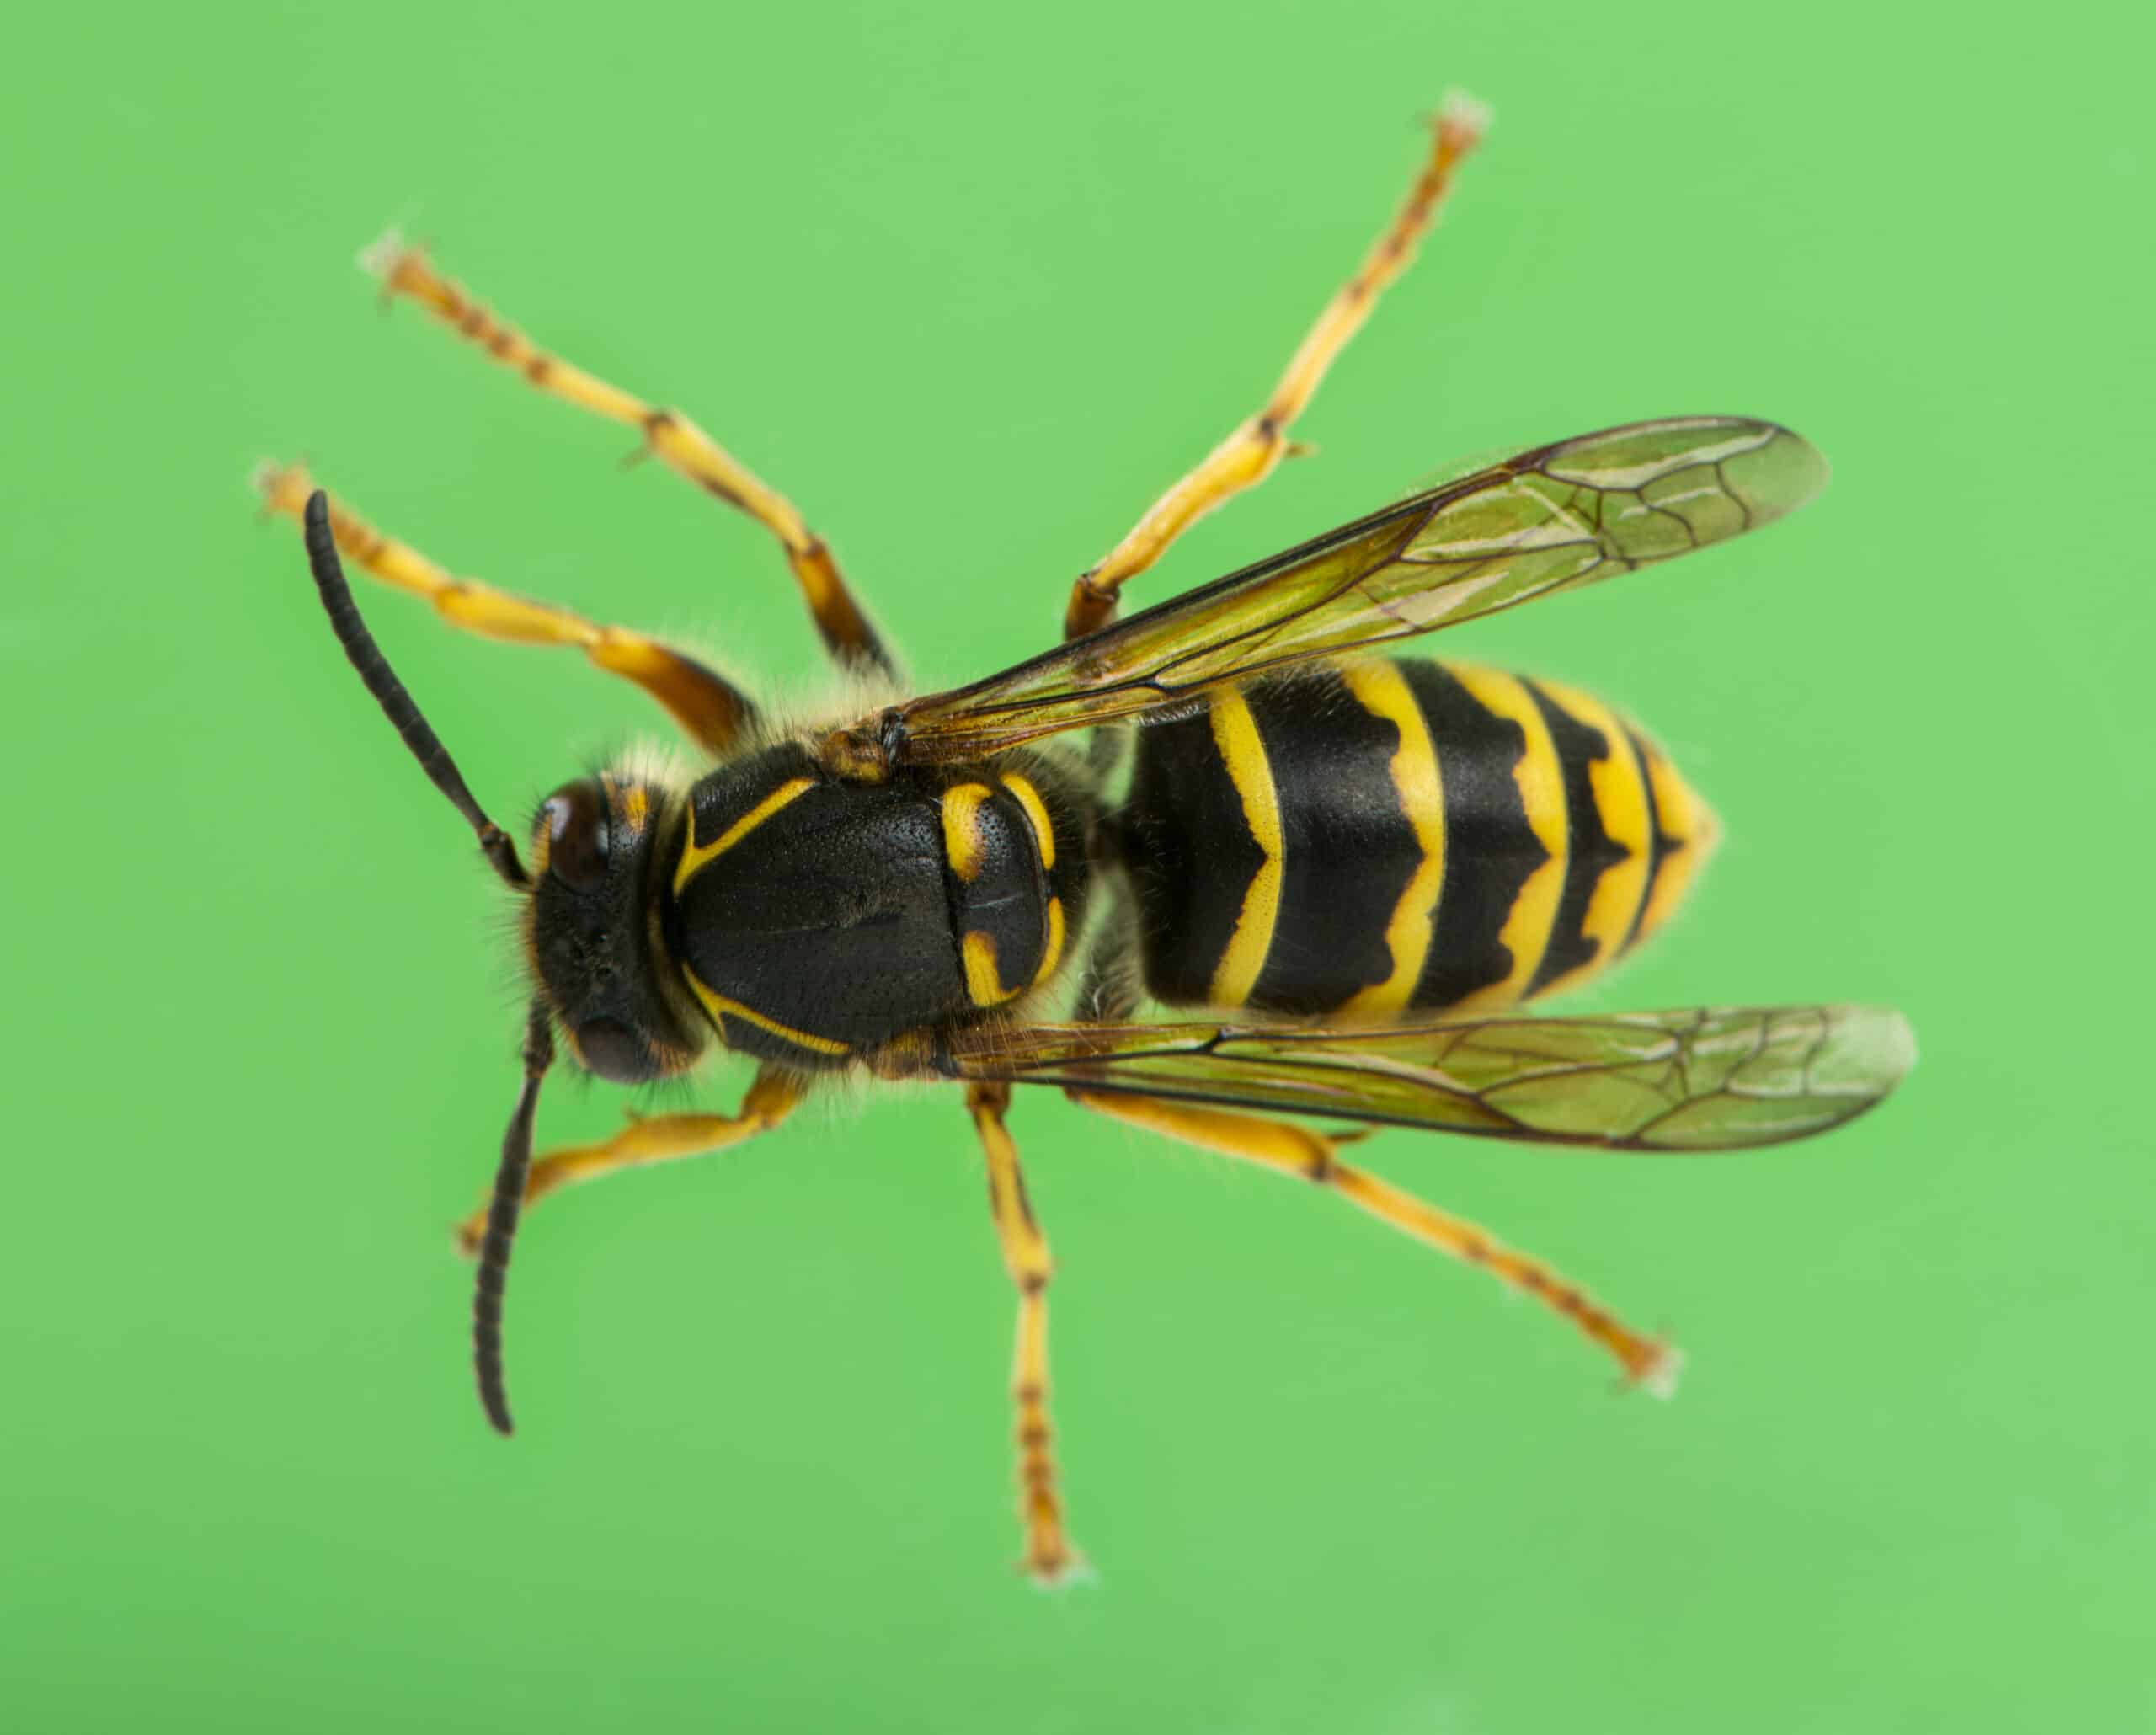
European wasp
European Wasp in Australia: Sting Symptoms, Risks & First Aid Guide
28/10/2025

A European wasp sting can cause anything from sharp localised pain to a life-threatening allergic reaction such as anaphylaxis. In Australia, where the European wasp …

cramps
How to Stop Muscle Cramps Faster: First Aid Tips
23/10/2025

Muscle cramps are sudden, involuntary muscle contractions that cause pain and discomfort, often in the legs, calves or feet. This guide will explain what causes …

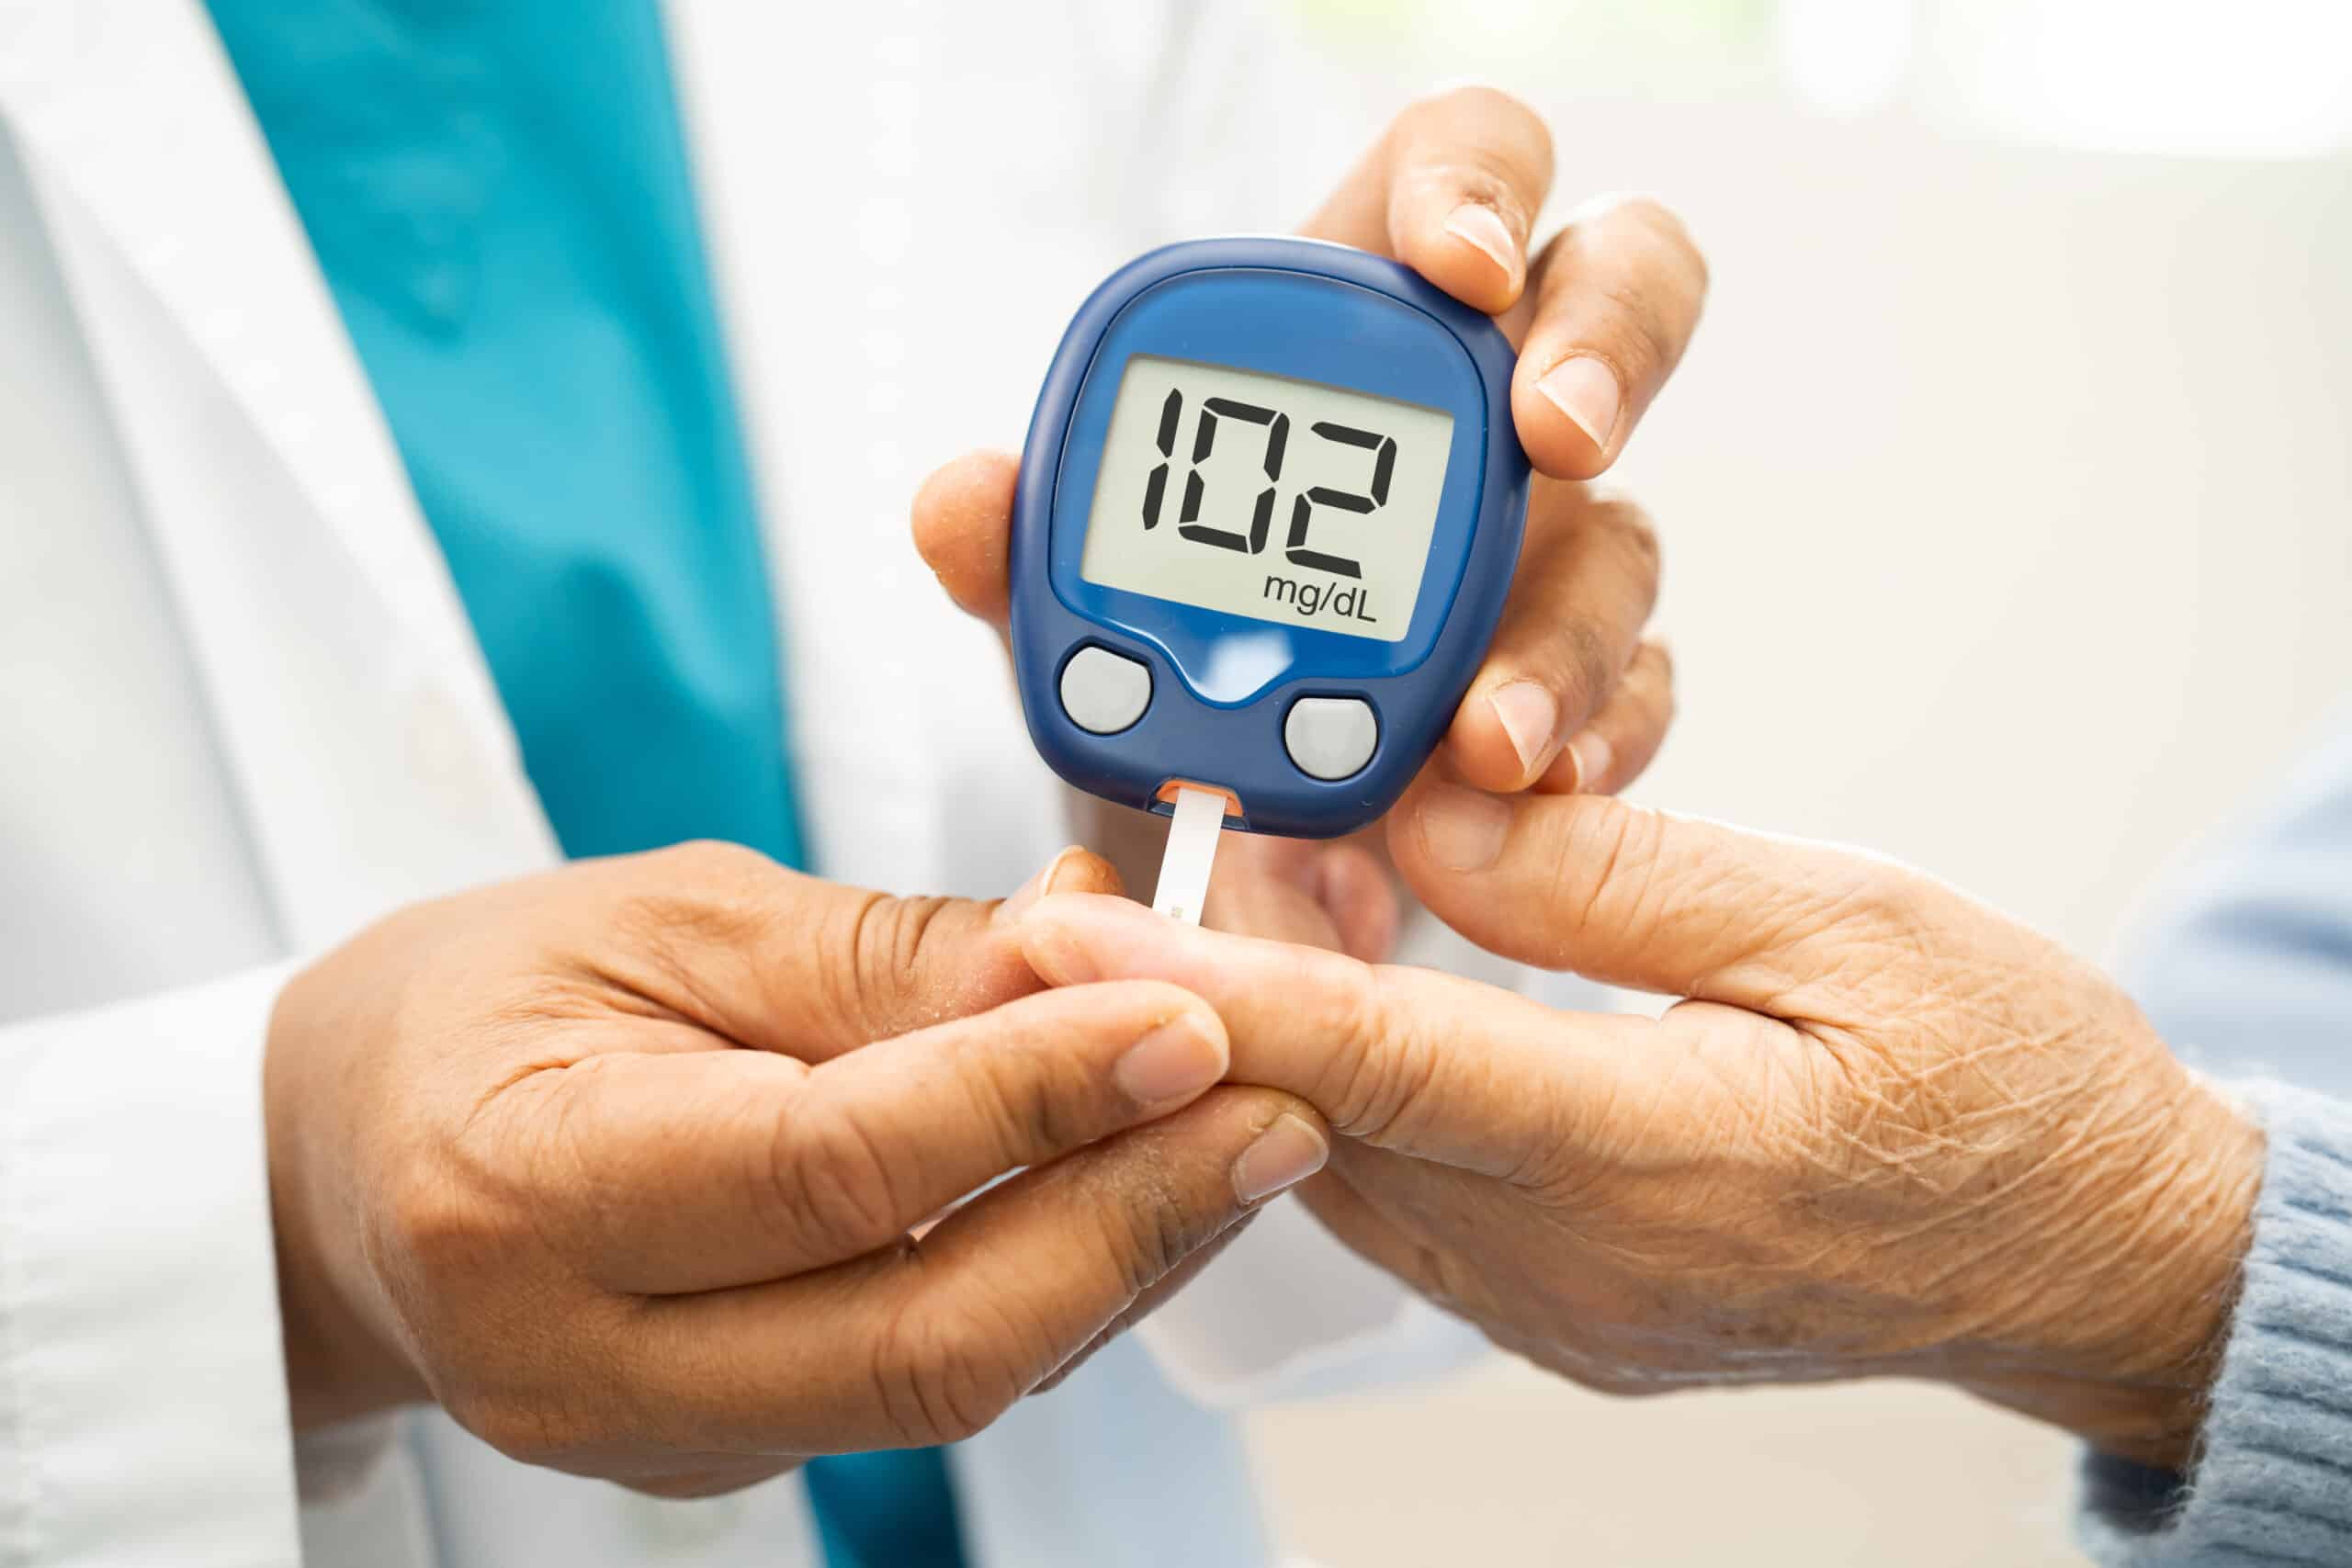
diabetes
What Is Diabetes and How to Handle a Diabetic Emergency: First Aid Steps
22/10/2025

Diabetes is a chronic condition that affects how the body regulates blood glucose levels, and recognising the signs of a diabetic emergency can save a …

Information
  • About Us
  • Contact Us
  • Onsite Training
  • Careers
  • Collaborations
  • Course Calendar
  • Daily Deals
  • FAQs
  • Explore Our Courses
  • Instant Price Beat
  • Partners
  • Same Day Certificates
Resources
  • Student Login
  • Blog
  • Learn First Aid
  • Create Your USI
  • Find Your USI
  • First Aid Charts
Popular Courses
  • CPR
  • First Aid
  • Childcare First Aid
  • Remote First Aid
  • Advanced First Aid
  • CPR, Asthma & Anaphylaxis
  • Asthma & Anaphylaxis
  • CPR LVR
  • Manual Handling
  • Manual Handling Refresher
  • Medication Administration
  • White Card
Online Courses
  • Zoom Online CPR
  • Zoom Online First Aid
  • Zoom Childcare First Aid
  • Zoom NDIS HISS Courses
Blended Courses
  • Blended CPR
  • Blended First Aid
  • Blended Childcare First Aid
Locations
  • South Australia
  • Queensland
  • New South Wales
  • Victoria
  • ACT
  • Tasmania
  • Northern Territory
  • Western Australia
Policies & Procedures
  • Academic Honesty
  • Complaints & Appeals
  • LLN
  • Refunds & Cancellations
  • RPL & Credit Transfers
  • Training & Assessment
Firstaidpro Logo
Facebook Instagram Youtube tiktok Pinterest Linkedin
  • Level 3, Unit 6/9 Frinton Street, Southport QLD 4215
  • (08) 7120 2570
  • Get In Touch

FirstAidPro is a leading Registered Training Organisation (RTO: 31124) delivering industry-leading standards and the latest training techniques. We provide you with Australia’s most comprehensive, officially recognised first aid qualification!

  • Same-Day Certificates
  • Courses Available 7 days
  • Nationally Accredited Certification
eway-payment.png
© 2025 Firstaidpro Australia Pty Ltd (RTO: 31124) | ABN: 70 106 788 050 | ACN: 106 788 050 | All rights reserved.
  • Privacy Policy
  • Refund Policy
  • Website Disclaimer
  • Information
    • About Us
    • Onsite Workplace Training
    • Blog
    • Collaborations
      • LIVIN
    • Instant Price Beat
    • Job Opportunities
    • Fundraising
    • FAQ
    • Learn First Aid
    • Policies & Procedures
    • Partners
    • Same Day Certificates
  • Courses
    • HLTAID009 – Provide cardiopulmonary resuscitation
    • HLTAID009 – Provide cardiopulmonary resuscitation (Online)
    • HLTAID009 – Provide Cardiopulmonary Resuscitation (CPR Express – Done Differently)
    • HLTAID010 – Provide basic emergency life support
    • HLTAID011 – Provide First Aid
    • HLTAID011 – Provide First Aid (Online)
    • HLTAID012 – Provide First Aid in an education and care setting
    • HLTAID012 – Provide First Aid in an education and care setting (Online)
    • HLTAID013 Provide First Aid in a remote or isolated site
      • Adelaide, SA
      • Brisbane, QLD
      • Darwin, NT
      • Hobart, TAS
      • Launceston, TAS
      • Perth, WA
    • HLTAID014 – Provide Advanced First Aid
      • Adelaide, SA
      • Brisbane, QLD
      • Hobart, TAS
      • Melbourne, VIC
    • HLTAID015 – Provide Advanced Resuscitation and Oxygen Therapy
      • Adelaide, SA
      • Brisbane, QLD
      • Hobart, TAS
    • CPR, Asthma & Anaphylaxis
    • Asthma & Anaphylaxis
    • HLTHPS006 Assist Clients With Medication​
      • QLD
        • Brisbane
        • Caboolture
        • Logan
        • Mackay
        • Southport
      • SA
        • Adelaide
        • Mawson Lakes
        • Morphett Vale
        • Salisbury
      • VIC
        • Dandenong
        • Melbourne
        • Tullamarine
      • TAS
        • Devonport
        • Hobart
        • Launceston
      • WA
        • Perth
      • NSW
        • Sydney
        • Wagga Wagga
      • NT
        • Darwin
    • HLTWHS005 – Conduct manual tasks safely
      • Adelaide, SA
      • Morphett Vale, SA
      • Salisbury, SA
      • Brisbane, QLD
      • Caboolture, QLD
      • Gold Coast, QLD
      • Melbourne, VIC
      • Darwin, NT
      • Hobart, TAS
    • Manual handling refresher for health workers
      • Adelaide, SA
      • Salisbury, SA
      • Morphett Vale, SA
      • Brisbane, QLD
      • Gold Coast, QLD
      • Darwin, NT
    • MHFA – Mental health first aid
      • Adelaide, SA
      • Morphett Vale, SA
      • Brisbane, QLD
      • Melbourne, VIC
    • Mental health – Recognising the signs – awareness training
    • NDIS High Intensity Support Training
      • SA
        • Adelaide
      • QLD
        • Brisbane
        • Mackay
      • VIC
        • Melbourne
      • NSW
        • Sydney
        • Wagga Wagga
      • TAS
        • Hobart
      • WA
        • Perth
    • Specialised Choking Support
    • CPCWHS1001 – White Card
      • NSW
      • NT
        • Darwin
      • QLD
      • SA
        • Adelaide
    • UETDRRF004 Perform rescue from a live LV panel
      • Adelaide
    • UETDRMP018 Perform Rescue From A Live Low Voltage Panel
      • Brisbane
      • Hobart
    • PUAFER005 – Operate as part of an Emergency Control Organisation
    • PUAFER006 – Lead An Emergency Control Organisation
    • PUAEME008 – Provide Pain Management
  • NDIS Courses
    • Complex Bowel Care Training
    • Complex Wound Care Training
    • Dysphagia Support Training
    • Enteral Feeding Support Training
    • Epilepsy and Seizure Training
    • Subcutaneous Injection Training
    • Tracheostomy Support Training
    • Urinary Catheter Support Training
    • Ventilator Support Training
    • Ventilator and Tracheostomy Support Management
  • Zoom Courses
    • CPR Course Zoom
    • First Aid Course Zoom
    • Child Care First Aid Course Zoom
  • Locations
    • South Australia
      • Adelaide CBD
      • Aldinga
      • Campbelltown
      • Fullarton
      • Findon
      • Gawler
      • Glenelg
      • Marion
      • Mawson Lakes
      • Mitcham
      • Modbury
      • Morphett Vale
      • Mount Barker
      • Mount Gambier
      • Munno Para
      • Murray Bridge
      • North Haven
      • Norwood
      • Osborne
      • Payneham
      • Pooraka
      • Port Adelaide
      • Salisbury
      • South Plympton
      • Tonsley
      • Victor Harbor
      • West Lakes
      • Willunga
      • Woodville
    • Queensland
      • Brisbane
        • Brisbane CBD
        • Browns Plains
        • Capalaba
        • Chermside
        • Hamilton
        • Indooroopilly
        • Logan
        • Mount Gravatt
        • Narangba
        • North Lakes
        • Redcliffe
        • Salisbury
        • South Brisbane
        • Springfield
        • Tingalpa
      • Gold Coast
        • Mermaid Waters
        • Southport
        • Palm Beach
        • Parkwood
        • Varsity Lakes
        • Upper Coomera
      • Cairns
      • Darra
      • Ipswich
      • Rockhampton
      • Mackay
      • Sunshine Coast
        • Caboolture
        • Caloundra
        • Eudlo
        • Gympie
        • Maroochydoore
        • Mooloolaba
        • Nambour
        • Noosaville
        • Sippy Downs
        • Wurtulla
      • Toowoomba
      • Townsville
        • Aitkenvale
        • Kirwan
        • North Ward
    • Victoria
      • Altona
      • Ballarat
      • Box Hill
      • Bundoora
      • Caroline Springs
      • Carrum Downs
      • Collingwood
      • Dandenong
      • Epping
      • Frankston
      • Fitzroy
      • Geelong
      • Laverton
      • Melbourne
      • Moonee Ponds
      • Narre Warren
      • Ringwood
      • Sunbury
      • Sunshine
      • Tullamarine
      • Werribee
    • New South Wales
      • Albury
      • Bankstown
      • Blacktown
      • Cabramatta
      • Campbelltown
      • Castle Hill
      • Cessnock
      • Darlinghurst
      • Dee Why
      • Dapto
      • Eastwood
      • Gosford
      • Greenwich
      • Hurstville
      • Hornsby
      • Kogarah
      • Liverpool
      • Miranda
      • Narellan
      • Newcastle
      • North Ryde
      • North Ryde
      • Parramatta
      • Penrith
      • Port Macquarie
      • Richmond
      • Smithfield
      • Sydney
      • Sydney Olympic Park
      • Shellharbour
      • Tweed Heads
      • Wagga Wagga
      • Wollongong
    • Tasmania
      • Hobart
      • Launceston
      • Burnie
      • Derwent Park
      • Devonport
      • Glenorchy
      • Kingston
      • Lindisfarne
      • Mornington
      • Rosny Park
      • Sandy Bay
      • Sorell
    • Western Australia
      • Canning Vale
      • Fremantle
      • Gosnells
      • Innaloo
      • Joondalup
      • Mandurah
      • Midland
      • Osborne Park
      • Perth CBD
      • Subiaco
      • Rockingham
      • Wanneroo
      • Welshpool
    • Northern Territory
      • Alice Springs
      • Darwin
      • Katherine
      • Palmerston City
      • Tiwi
    • Australian Capital Territory
      • Canberra
      • Curtin
      • Narrabundah
      • Woden
    • Find Locations Near Me
  • Resources
    • Student Login
    • Article Library
    • First Aid Charts
    • Blog
Book Now  Daily Deals
  • Blog
  • Contact
  • Student Login
North Hobart