


Sharon has 21+ years of experience as a qualified Emergency Care Nurse registered with the Australian Health Practitioner Regulation Agency (APHRA) and 12+ years as a First Aid Trainer.
She takes pride in FirstAidPro making first aid training available, comprehensive and affordable to everybody.
- Tooth Abscess – Everything You Need to Know - 05/06/2026
- Thank a First Responder Day 2026: Saluting the First Responders We Train - 03/06/2026
- Certified Online First Aid Training in Australia - 02/06/2026
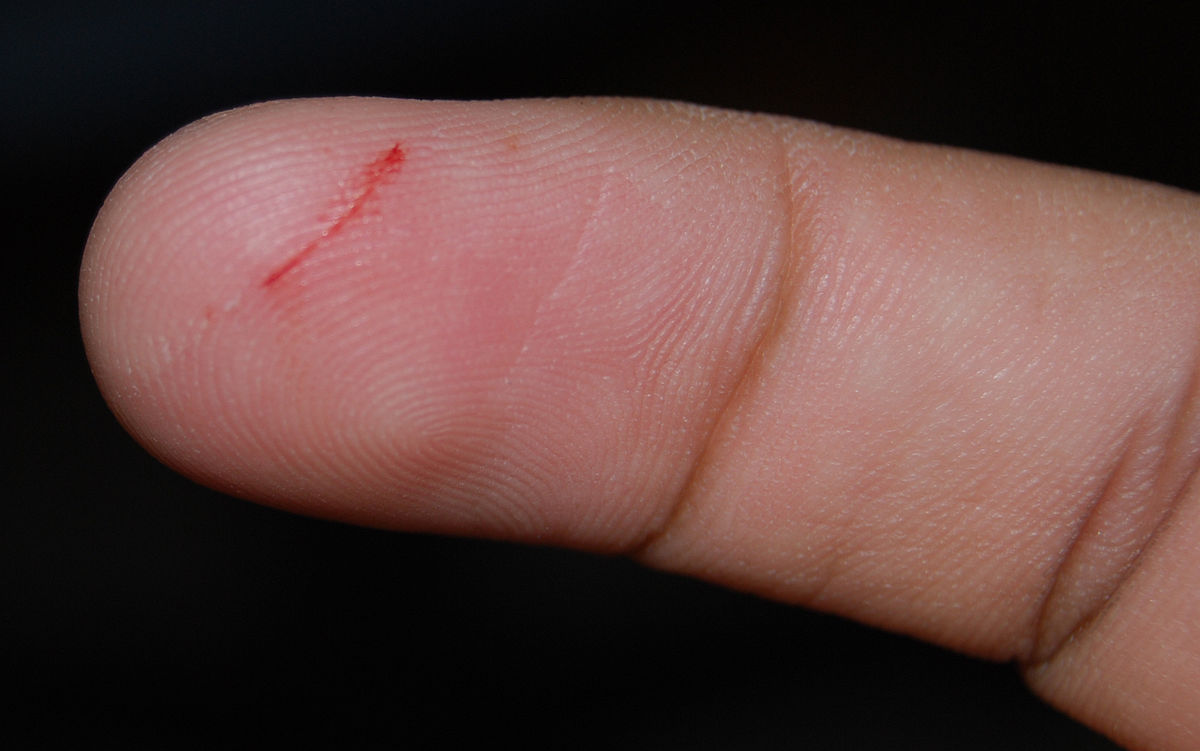
When you’re faced with a minor cut, knowing how to stop the bleeding quickly and effectively can make a world of difference.
Whether you’ve nicked yourself while cooking or suffered a small scrape during outdoor activities, these five essential tips will help you manage the situation with confidence.
By following these simple yet vital steps, you’ll not only minimise blood loss but also reduce the risk of infection and promote faster healing.
So, let’s explore these practical techniques that could prove invaluable the next time you or someone around you needs immediate first aid for a minor cut.
Key Takeaways
• Apply firm, direct pressure with a clean cloth or sterile gauze for at least 15 minutes.
• Elevate the injured area above heart level to reduce blood flow and promote clotting.
• Clean the wound thoroughly with running water and mild soap to prevent infection.
• Use haemostatic agents like powders or gauzes for stubborn bleeding to accelerate clotting.
• Bandage the cut properly with appropriate materials, ensuring a snug but not restrictive fit.

Apply Direct Pressure
The most effective way to stop bleeding from a minor cut is to apply firm, direct pressure to the wound. Using a clean cloth or sterile gauze, press firmly on the cut to slow blood flow. Don’t be afraid to use force; the pressure needs to be strong enough to compress the blood vessels.
Maintain this pressure for at least 15 minutes without lifting the cloth or checking the wound. If blood soaks through, add more layers without removing the original cloth. Resist the urge to peek, as this can disrupt clot formation and prolong bleeding.
While applying pressure, elevate the injured area above your heart if possible. This helps reduce blood flow to the wound. If you’re dealing with a cut on your hand or arm, raise it above your head. For leg injuries, lie down and prop up the affected limb.
If bleeding persists after 15 minutes of constant pressure, continue for another 15 minutes. Most minor cuts will stop bleeding within this time frame. However, if heavy bleeding continues or you can’t control it, seek medical attention immediately.
Elevate the Injured Area

Why is elevation essential when dealing with minor cuts? Raising the injured area above heart level helps reduce blood flow to the wound, aiding in the clotting process. This simple first aid technique can greatly decrease bleeding and promote faster healing.
To elevate the injured area effectively, find a comfortable position where you can keep the wound above your heart. If it’s on your hand or arm, raise it above your head while sitting or lying down. For leg injuries, prop your foot up on pillows or a chair while reclining. Maintain this position for at least 15 minutes or until the bleeding stops.
Remember, elevation works in tandem with direct pressure. While keeping the wound elevated, continue applying pressure with a clean cloth or bandage. This combination helps slow blood circulation to the affected area, giving your body time to form a clot.
If you’re mobile, try to keep the injury elevated as much as possible throughout the day. This ongoing elevation can help minimise swelling and discomfort while promoting faster healing. However, if bleeding persists or the cut appears deep, seek medical attention promptly.
Clean the Wound

Once bleeding has slowed, cleaning the wound becomes essential to prevent infection and promote proper healing.
Start by washing your hands thoroughly with soap and water to avoid introducing new bacteria to the cut. Rinse the wound under clean, running water for several minutes to remove any debris or dirt. If water isn’t available, use an antiseptic wipe or solution.
For proper wound hygiene, gently clean around the cut with mild soap, being careful not to get soap directly in the wound as it may cause irritation. Avoid using hydrogen peroxide or alcohol, as these can damage tissue and slow healing. Instead, opt for an antiseptic application such as povidone-iodine or chlorhexidine.
Pat the area dry with a clean, lint-free cloth or sterile gauze. Don’t rub the wound, as this can reopen it or cause further damage. If any debris remains embedded in the cut, use clean tweezers sterilised with alcohol to remove it carefully.
For deeper cuts or if you can’t clean the wound effectively, seek medical attention. Remember, proper cleaning is vital for preventing infection and ensuring your minor cut heals quickly and without complications.
Use Hemostatic Agents

For more stubborn bleeding, you’ll want to contemplate using hemostatic agents, which are specialised products designed to accelerate blood clotting.
These agents are particularly effective for haemorrhage control in minor cuts that persist despite applying direct pressure. You can find hemostatic agents in various forms, including powders, gauzes, and bandages, often available over-the-counter at pharmacies.
To use a hemostatic agent, first clean the wound thoroughly. Then, apply the product directly to the bleeding site, following the manufacturer’s instructions carefully. Press gently but firmly on the area for a few minutes to allow the agent to work. You’ll notice the bleeding slow down considerably as the clotting process accelerates.
While hemostatic agents are excellent for stopping blood flow, they don’t replace proper wound care. After the bleeding stops, continue with standard first aid procedures to promote wound healing.
Change the dressing regularly and keep the area clean to prevent infection. If bleeding persists or the cut appears deep, seek medical attention promptly.
Bandage the Cut Properly

Lorem ipsum dolor sit amet, consectetur adipiscing elit. Ut elit tellus, luctus nec ullamcorper mattis, pulvinar dapibus leo.
After stopping the bleeding, it’s crucial to bandage the cut properly to protect it from further injury and infection.
Start by cleaning the wound with soap and water or an antiseptic solution. Gently pat the area dry with a clean cloth or sterile gauze.
Choose appropriate bandage materials based on the size and location of the cut. For small cuts, adhesive bandages or butterfly closures work well. Larger wounds may require gauze pads and medical tape. Make sure you have various sizes on hand for different situations.
When applying the bandage, ensure it’s snug but not too tight. You don’t want to restrict blood flow. Cover the entire wound and extend the bandage slightly beyond the cut’s edges. This helps keep the bandage in place and prevents dirt from entering.
Consider different adhesive options for sensitive skin or hard-to-bandage areas. Hypoallergenic tape, self-adhering wraps, or liquid bandages can be useful alternatives.
Change the bandage daily or whenever it becomes wet or dirty to maintain cleanliness and promote healing. If you notice signs of infection, such as increased redness, swelling, or pus, consult a healthcare professional promptly.
Frequently Asked Questions
How Long Does It Typically Take for a Minor Cut to Stop Bleeding on Its Own?
Most minor cuts stop bleeding within 3-15 minutes due to your body’s natural blood clotting process. If it continues longer, apply direct pressure to the wound.
Can Applying Ice Help Stop Bleeding From a Minor Cut?
You can use ice application for bleeding control. It constricts blood vessels, slowing blood flow. Apply ice wrapped in a cloth for 10-15 minutes.